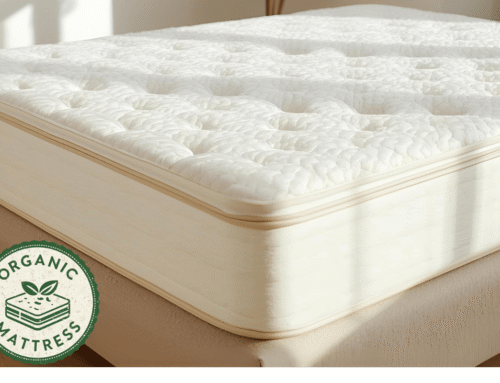
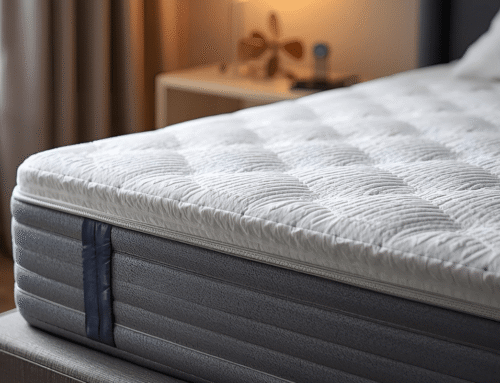
Compressing a memory foam mattress sounds intense at first, though it’s more about patience and the right preparation. Most people fold or shove it into a tight space, but that only causes damage. The mattress must stay clean, lie flat, and be handled with care from the start.
A heavy-duty mattress bag, a few sturdy ratchet straps, and a vacuum cleaner do the trick. The goal isn’t to squish it flat all at once but to slowly draw the air out so the foam doesn’t stretch or crack. Once most of the air is gone and the bag is sealed tight, rolling it up becomes easier.
There’s no need to rush as each step matters. This guide shows how to seal, compress, and roll a memory foam mattress safely at home. We walk through the process based on real experiences from people who moved or stored their mattresses without damage.
Understanding what a memory foam mattress is and what a gel memory foam mattress offers in terms of cooling comfort, along with knowing the best thickness for support and how much a quality memory foam mattress typically costs, gives better context before handling and compressing it.
Key Takeaways
- Clean your memory foam mattress before rolling it up to prevent mold and odor during storage.
- Use a vacuum bag, plastic wrap, and ratchet straps to compress the mattress more easily and protect the foam from damage.
- Vacuum slowly and steadily to flatten the mattress without stressing the foam. Give it at least five minutes for best results.
- Store the compressed mattress in a cool, dry place and avoid stacking heavy items on top, as pressure dents can become permanent.
- After unrolling, let the mattress expand flat for 24 to 72 hours. Skipping this step can lead to uneven comfort or sagging.
Step 1: Gather Your Supplies
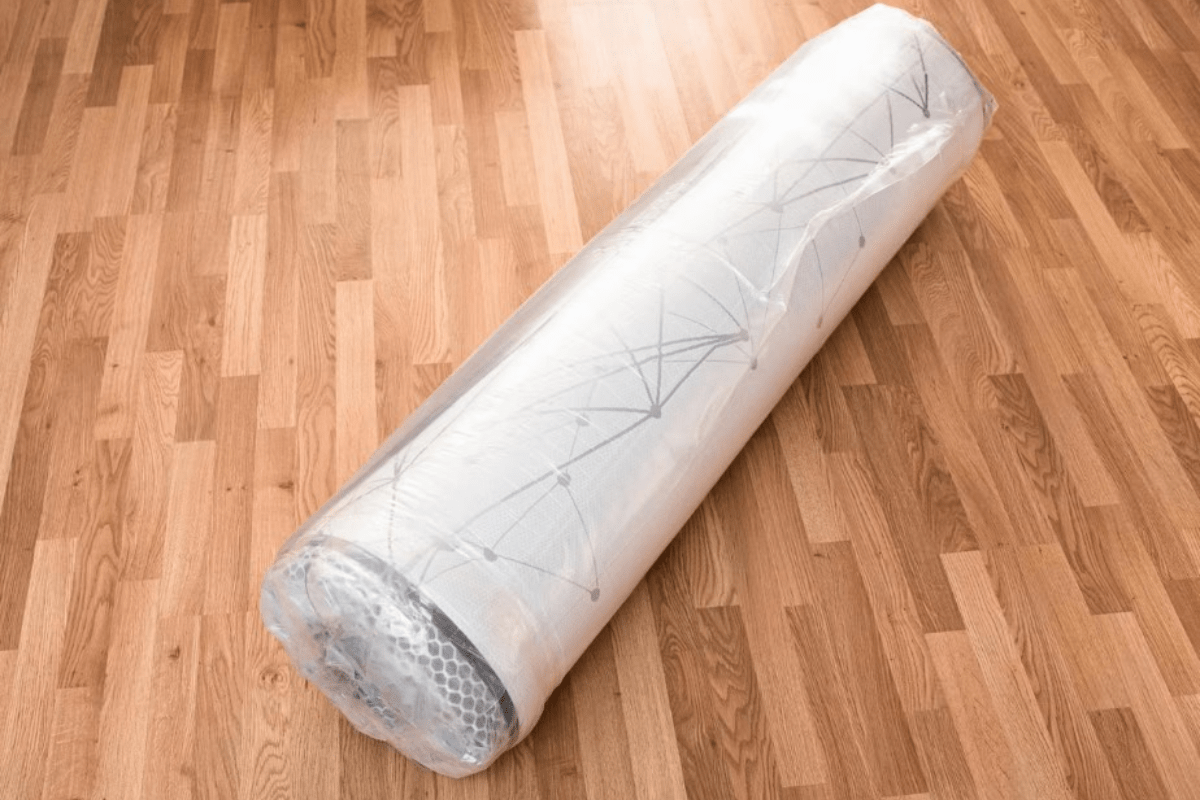
Start by laying out all the essentials such as a vacuum bag or mattress compression bag, plastic wrap or a mattress bag, and a vacuum cleaner with a hose attachment. People who’ve done this before usually find it easier to work in a clear space so nothing gets in the way. It helps to set everything nearby to avoid scrambling mid-process.
Some like to add ratchet straps or ropes to keep things tight and easier to handle. Duct tape isn’t always necessary, though it comes in handy for sealing the plastic wrap. Those who skip this step often deal with shifting or air leaks, which can be a hassle later on.
It’s a good idea to check if the mattress is dry and free from any dust or debris before compressing it. This step gets overlooked a lot, but it makes storage and transport much easier. No one wants to trap moisture or dirt inside the wrap for weeks.
Step 2: Remove Bedding And Clean The Mattress
Start by stripping the bed such as sheets, toppers, and protectors should all come off. Skipping this step just traps more dirt and moisture during the move. A bare mattress is easier to clean and handle, especially if it’s memory foam. Light cleaning works best here. A vacuum or a mild, fabric-safe cleaner helps remove dust and any lingering allergens. Scrubbing too hard can damage the foam, so it’s better to go gently and let the tools do the work.
Moisture should never be ignored. A slightly damp mattress feels fine at first, but sealing it up can trap humidity and lead to mold. Letting it dry fully in a well-ventilated space avoids that mess and keeps the mattress fresh for the next setup.
To properly care for your memory foam before compression, it’s important to know how to get urine and stains out of a memory foam mattress easily, how to clean it effectively, and how to dry it thoroughly. Following these steps ensures your mattress stays fresh and damage-free throughout the moving and storage process.
Step 3: Place The Mattress In A Mattress Bag
A memory foam mattress should be covered with a thick plastic sheet or a heavy-duty mattress bag. Based on past experience, thinner plastics tend to tear easily, especially during the compression process. Using something durable keeps the foam protected and makes it easier to handle.
Some mattress bags include a vacuum valve, which simplifies the next step. Others don’t, so a small hole near the corner of the bag works too. A vacuum hose can be pressed against the hole, then sealed in place using strong duct tape so it stays secure. The key here is making sure the bag is airtight before compressing. Air sneaking in slows the process or ruins the seal completely. People who’ve skipped this step often end up starting over or wasting bags, which isn’t fun. A snug, sealed fit works best and prevents mess later on.
At this stage, it’s important to consider how to store a memory foam mattress and how to dispose of it properly when the time comes.
Step 4: Use A Vacuum To Compress The Mattress
A strong vacuum can pull the air out steadily, though thicker mattresses might take a little longer. The process looks slow at first, but the shrinkage becomes more noticeable after a minute or two. Some people say it helps to press gently along the surface to move things along. It’s normal to hear the plastic crinkle and the vacuum strain a bit as it pulls air through. The mattress doesn’t instantly flatten, but with steady suction, it starts to look more compact. People who’ve done this more than once usually give it about five minutes just to be sure.
Once the mattress feels firm and flat with no soft spots, the compression step is usually complete. The key seems to be watching closely and not rushing. Most agree that skipping this patience leads to uneven rolling later.
Step 5: Roll The Mattress Carefully
Start at one end of the compressed mattress and roll it gently toward the other side. The motion feels similar to rolling a thick sleeping bag. Slow and steady pressure helps keep the shape controlled without straining the material. Some prefer keeping the roll snug without over-tightening it. A loose roll tends to shift around more during storage. A firm but gentle roll gives better control and takes up less space in the truck or storage room.
Once rolled, securing it with ratchet straps or thick rope helps it stay compact. Some people have used duct tape in a pinch, though it’s less reliable. Anything sturdy enough to hold the shape during the drive works just fine.

Step 6: Store Or Move With Ease
Once the mattress is rolled and sealed, it’s easier to manage than expected. Some have stored it in narrow hallway closets or slid it into the back seat of a sedan without much trouble. Others have shipped it cross-country with no major issues, just wrapped it in an extra layer for peace of mind.
Heat and moisture are two things that don’t go well with compressed foam. People who’ve stored theirs in garages during summer noticed a difference in how the foam expanded later on. Keeping it in a cool, dry spot seems to work best, especially for long-term storage.
Placing other items on top, even for a short time, can leave dents that don’t bounce back easily. One person shared how a laundry basket left a permanent crease after a few weeks. Letting the mattress stay upright or flat on its own helps it stay in good shape for whenever it’s needed again.
If you’re wondering how to move a memory foam mattress, knowing the best storage and handling practices will make both tasks much easier and less stressful.
Step 7: Uncompressing The Mattress
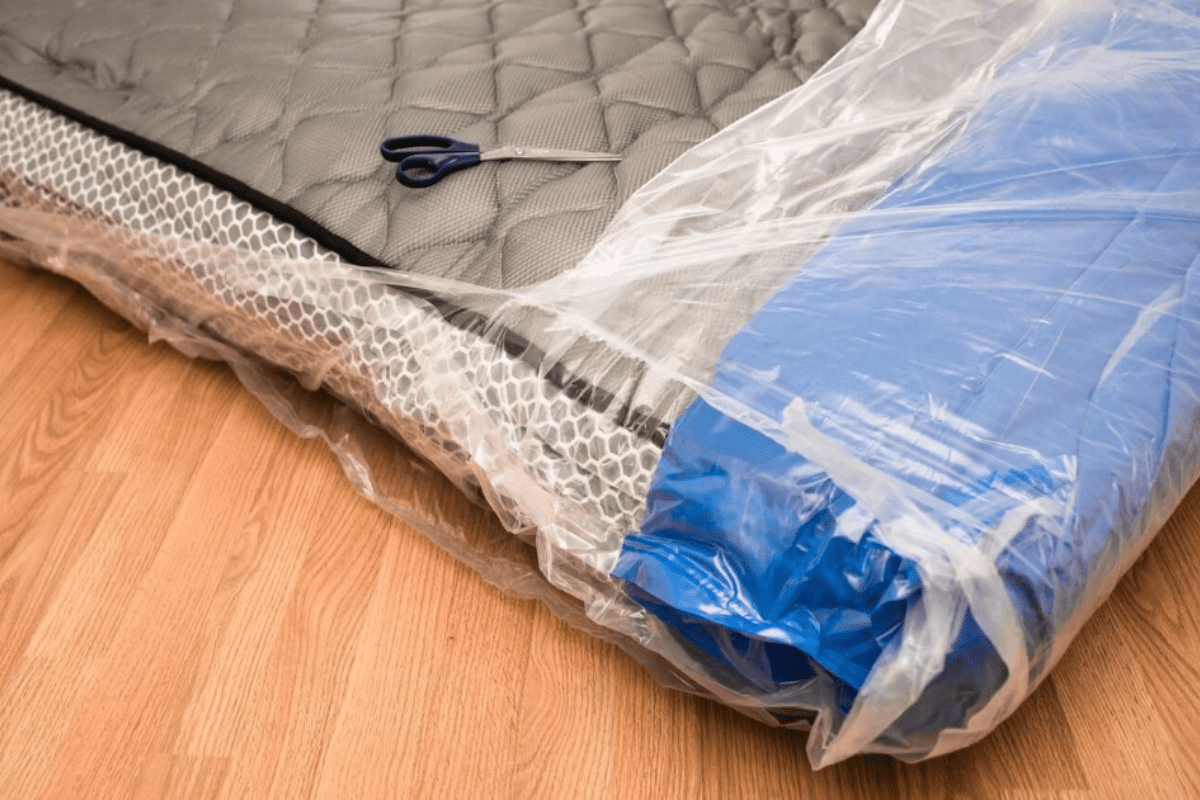
Unrolling the mattress feels simple enough, just cut open the plastic, and it starts to unfold on its own. Some notice a light smell at first, which fades after a few hours with decent airflow. Placing it on a clean, flat surface helps it settle evenly.
Foam mattresses tend to need a full day or more to regain their shape, especially the dense ones. Many who rush to sleep on it too soon find the surface a bit uneven or firmer than expected. Giving it 24 to 72 hours gives the materials space to fully decompress. In cooler rooms, expansion tends to slow down, which isn’t always ideal for those in a hurry. A warmer environment with some open windows or fans nearby seems to help. It’s more about patience than process, some even forget about it for a day and come back to a bed that feels just right.
It’s important to understand what happens if you sleep on a memory foam mattress before 48 hours and how this can affect your comfort and the mattress’s performance.
Step 8: Can You Compress All Memory Foam Mattresses?
Some memory foam mattresses handle compression better than others, especially those originally shipped in a box. That’s often a good sign the materials can manage another round of being rolled up. Still, the safest move is to double-check the manufacturer’s care guide before trying anything.
Older mattresses with visible wear or years of use tend to lose their structure. Compressing those could lead to permanent damage in the foam, or uneven layers that never settle right again. It’s better to avoid risks than end up with a lumpy bed that can’t bounce back.
A few people try compressing their mattress for a move or storage, but it doesn’t always go as planned. Some foams don’t react well to pressure once they’ve fully expanded and settled. The safest bet is to keep it flat or ask the brand what they recommend for long-term care.
A key consideration when deciding whether to compress your mattress is its overall lifespan and condition. Memory foam mattresses typically last between 7 to 10 years, and it’s recommended to replace them within this period to maintain proper support and comfort. Attempting to compress an older mattress nearing the end of its lifespan may increase the risk of damage, as the foam’s structure weakens over time.

Step 9: Tips For A Smooth Compression Process
Cleaning and drying a mattress thoroughly before vacuuming is essential. Any moisture left behind can cause mold or mildew, so ensuring it’s completely dry helps maintain freshness and longevity. A damp mattress can quickly develop unpleasant odors and damage over time.
Using a vacuum with strong suction significantly improves the cleaning process, especially for removing dust mites and debris embedded deep in the fabric. Before starting, it’s important to seal any air leaks on the vacuum hose to keep the suction consistent and efficient. For thick or heavy mattresses, having an extra pair of hands makes the task much easier and safer.
Avoid keeping a mattress compressed for more than two to three weeks, as extended pressure can affect its shape and comfort. Taking these simple steps not only saves time but also supports the mattress’s durability and helps it stay comfortable and supportive for longer periods.
In addition to proper compression techniques, maintaining your mattress’s comfort and performance involves adjusting firmness and temperature as needed, as well as rotating the mattress regularly. How to fix dip in memory foam mattress is another important consideration, especially if your bed shows early signs of sagging. These practices help preserve the mattress’s support and extend its overall lifespan, contributing to a smoother and more effective compression process.
Final Thoughts
Compressing a memory foam mattress is practical for storage or moving, as it helps save space and simplify handling. Taking the process step by step and using proper tools reduces the risk of damage. Patience is important in keeping the mattress in good condition throughout.
Going slowly during compression avoids unnecessary stress on the foam, and sealing it properly keeps it protected from dirt and moisture. It’s important to keep the mattress rolled tightly but not overly forced, allowing the material to adjust naturally. Rushing can cause creases or permanent damage.
After compression, the mattress needs ample time to regain its original shape and firmness. Leaving it undisturbed for at least 24 to 48 hours lets the foam expand fully. Following these simple guidelines can extend the mattress’s lifespan while making storage or transport easier.


